How to register for ITIES
1. Visit the ITIES website
The ITIES website is available at https://ities.nbr.gov.bh/
This will take you to the main screen

Click the Register button in order to register for the first time.
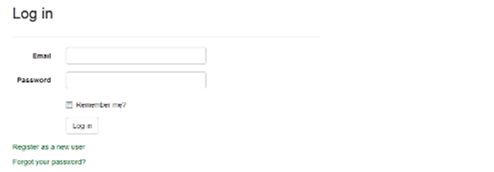
2. Register as a user of the system
Enter your email address and enter a password. You will be asked to complete a reCAPTCHA.
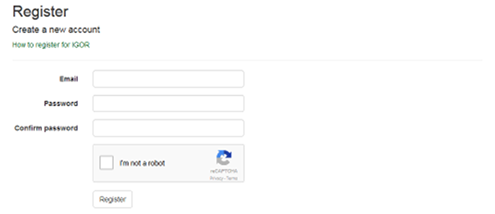
Passwords must be eight or more characters long, and must include at least one character from all of the following groups:
- Lowercase letters (a-z)
- Uppercase letters (A-Z)
- Digits (0-9)
- Symbols like !@#$.
ITIES will display the following message
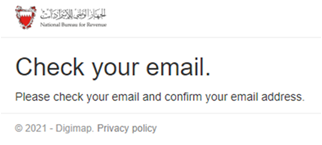
You will receive an email with a link to click to confirm your email address.
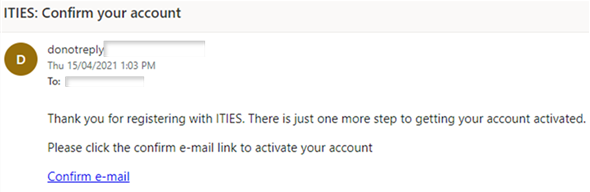
If you do not receive the message, please check in your junk mail. If it is still not received, please ask your IT department to white list emails from nbr.gov.bh.
Should you wish to trigger another message, you can also use the Login screen and then select “Forgot your Password” to gain access to your account if it has not yet been successfully activated.
3. Log in
Enter your email address and password in the ITIES web site. On the first login you will be sent an email with a code which also needs to be entered.
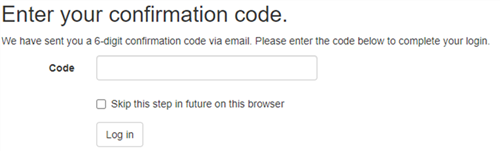
You can choose to tick the “skip this step” box if you do not wish to use 2 factor identification each time you login.
Once you have successfully registered and logged in you will be presented with the ITIES Main Page.
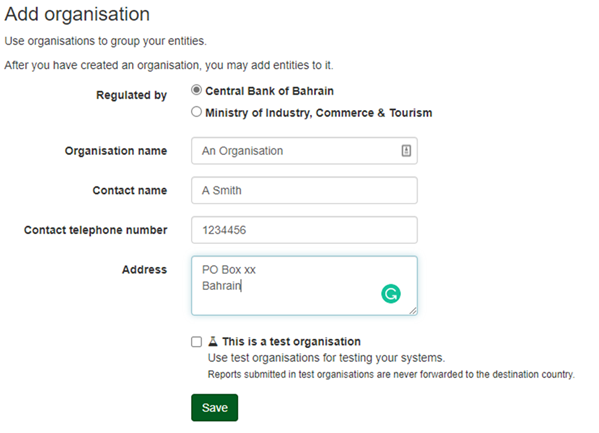
4. Add an organisation
Organisations are used to group reporting entities.
- An Organisation is a group of one or more Reporting Entities / Financial Institutions.
- All Reporting Entities must be regulated by the same authority (CBB or MOICT).
- An organisation can be a test organisation.
- Any Reporting Entities and reports entered in Test Organisations will not be transmitted.
The details for adding a new Organisation are light touch and not validated.

To create an organisation, give it a name and enter a contact name, contact telephone number and postal address.
Select who the organisation is regulated by. If you have an entity which is regulated by CBB and another which is regulated by MOICT, you will need to set up separate organisations. If you have an entity which is regulated by both the CBB and the MOICT, you will need to set up separate organisations and report separately.
If wish you can create test organisations. Click on “This is a test organisation”. Use test organisations for testing your systems. Reports submitted in test organisations are never forwarded to the destination country.
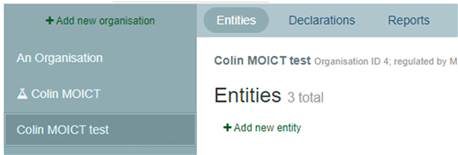
Test organisations, and financial institutions / entities in test organisations, are shown with this Test symbol next to their name.
To create additional organisations, click on +Add new organisation
5. Settings
When you select an Organisation you have set up, you will see the following menu bar.

Under Settings, you will find a number of options.
The Users tab allows you to add and manage users. Users can be added and removed, however, at least one user must remain.
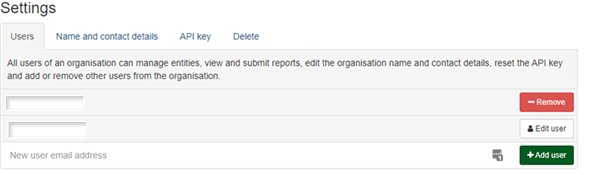
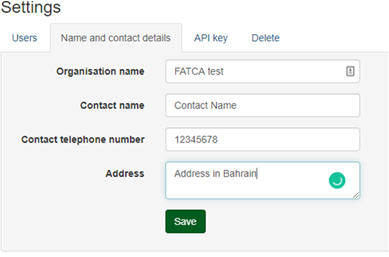
The Name and Contact Details tab allows you to change the information about the organisation together with the main contact name and telephone number. Please note that Secure Messages are sent to all users within an organisation.
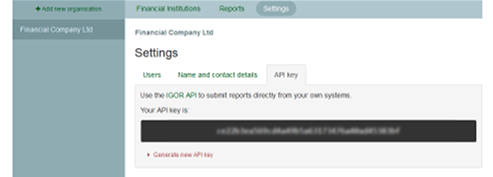
Under API tab your will find the API key for your Organisation. This is only relevant if you plan to automate the transmission of your returns using the API. For report submission using the API, all financial institutions within an organisation share the same API key.
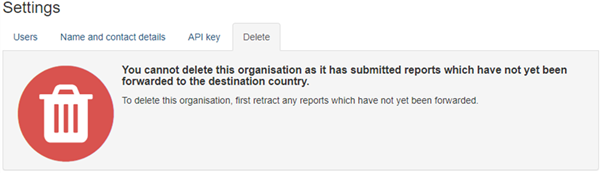
The Delete tab allows you to delete an Organisation in limited circumstances. Test Organisations may be deleted at any time but live Organisations will provide a message if it cannot be deleted.
6. Add one or more financial institutions / entities
Click on + Add new Entity
Select the type of reports the financial institution / entity will submit, and search for it by GIIN or name (if it will be submitting FATCA reports). If you do not select FATCA reporting, the GIIN is optional.
Select the first reporting period.
You will be required to enter the CR number for your business. Should you be regulated by the CBB, you will also be asked to enter your CBB Licence number.
Press Save
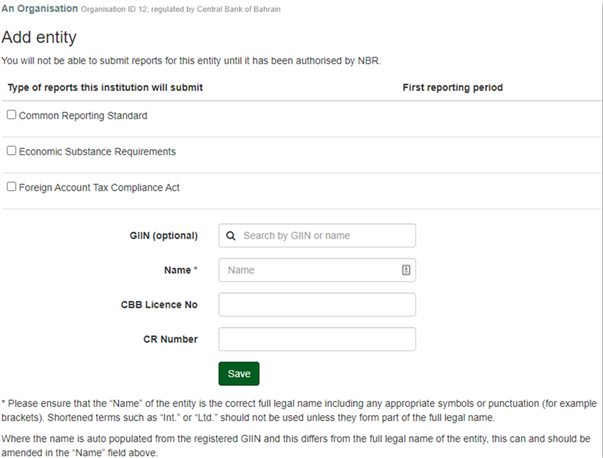
You will be unable to submit reports for a newly added financial institution until it has been authorised by CBB or MOICT.
The Entity appears in the Entities awaiting authorisation section and has a yellow background until authorised.
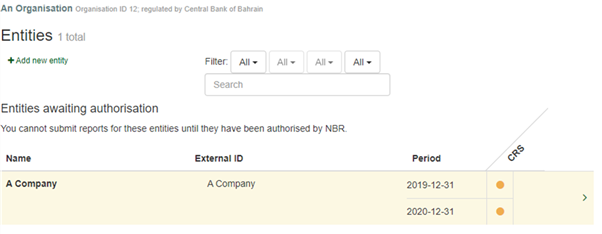
Entities in test organisations can be used immediately without authorisation by CBB or MOICT, as reports submitted for these financial institutions / entities are never forwarded to the destination country.
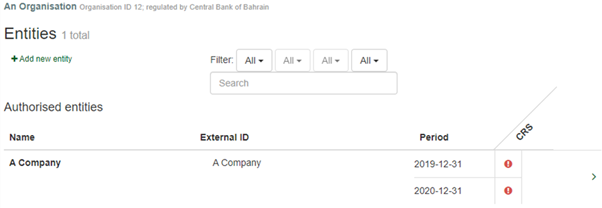
Once the Entity has been authorised, you will receive a message, the information will appear under the Authorised Entities section and the background will be white.
7. Next Steps
Now you have completed registration, you can go to the next stage.
Submitting XML reports
CRS and FATCA data can be submitted using three methods.
The first two methods require your system to produce the XML output, suitable for submitting to ITIES. The submission can be made using the ITIES portal to submit the file or, if you have multiple files, you can submit using an API and your API key.
The last method, designed for smaller businesses with simple returns, is the use of the ITIES forms. The forms allow the manual input of the data directly into ITIES Online Forms and ITIES will generate the XML data for you. Users are still expected to have a good knowledge of the IRS FATCA User Guide if using this method.
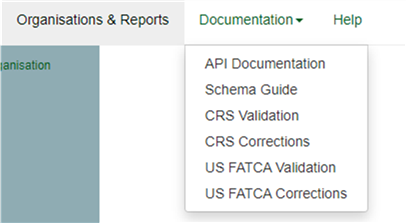
Documentation and Help
On the main menu after logging in, you will be able to see the documentation available. The list will be different to the list below and will be updated on a regular basis.